Mini Split Installation: What to DIY, What to Hire, and the Mistakes That Kill Compressors
A mini split install looks like a weekend appliance project. It’s actually two different jobs that internet guides blur together:
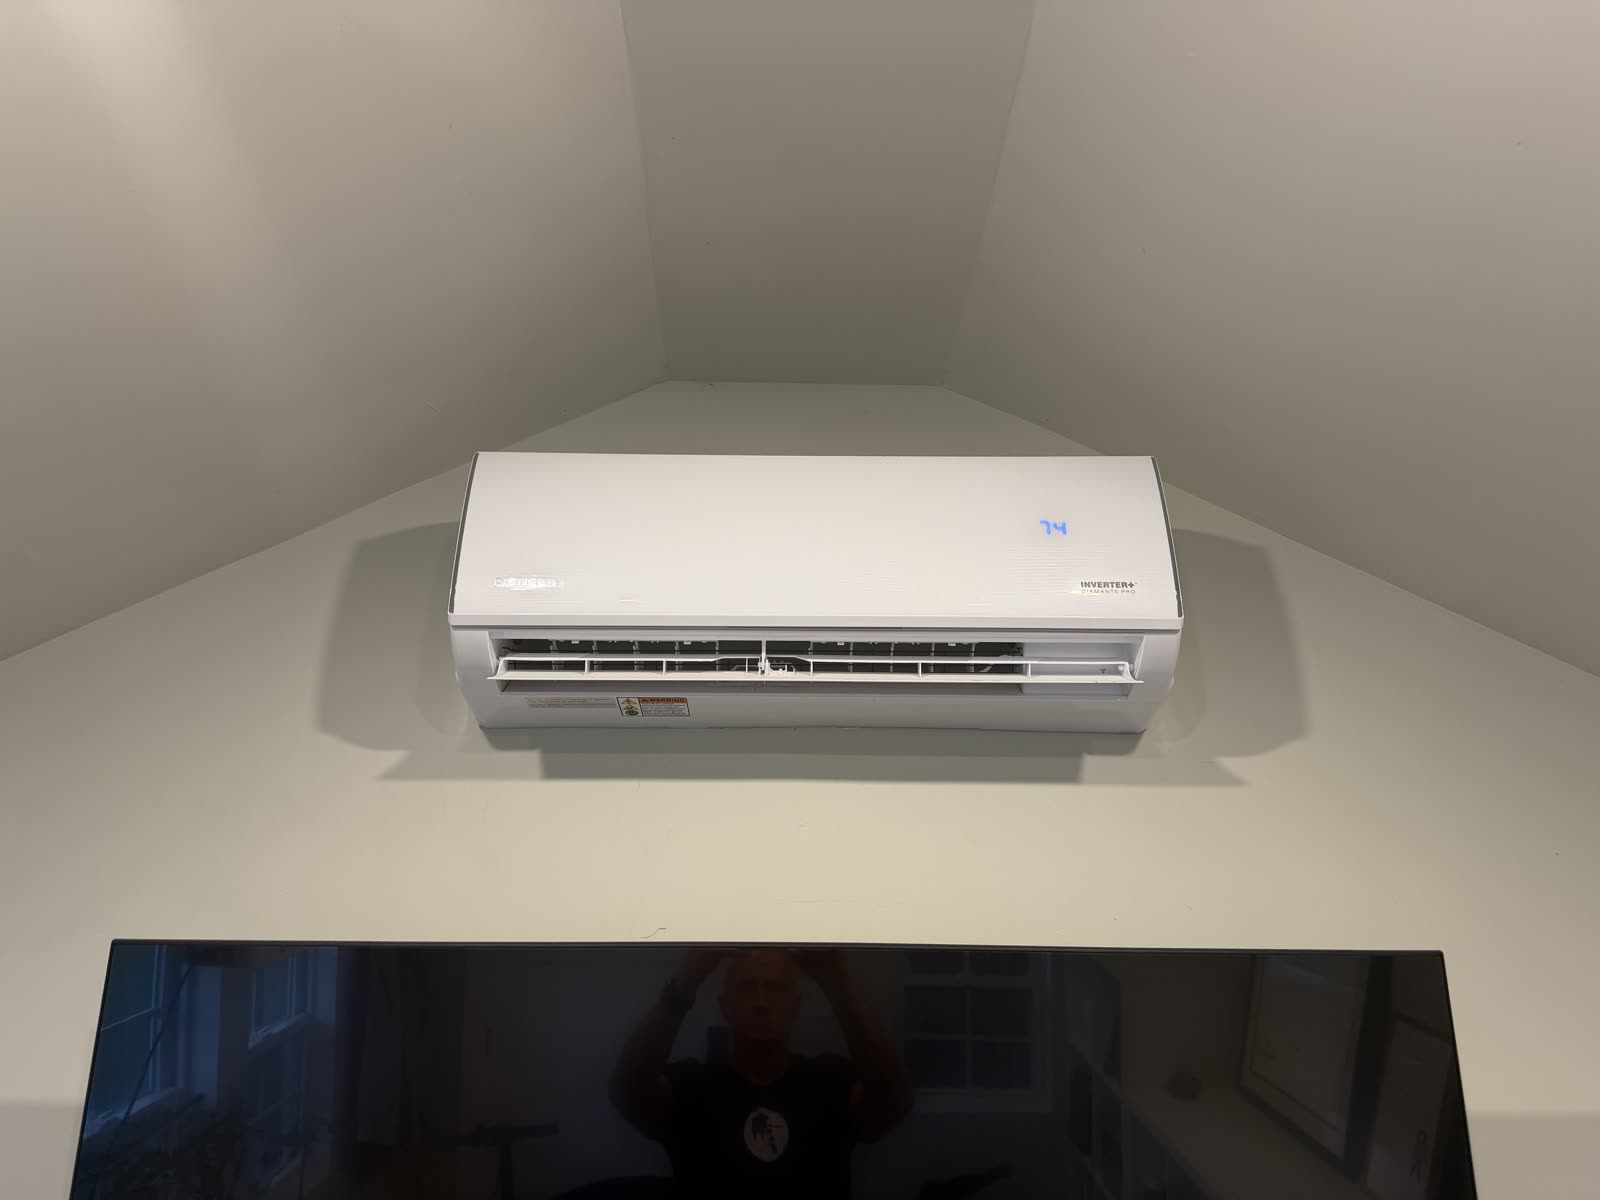
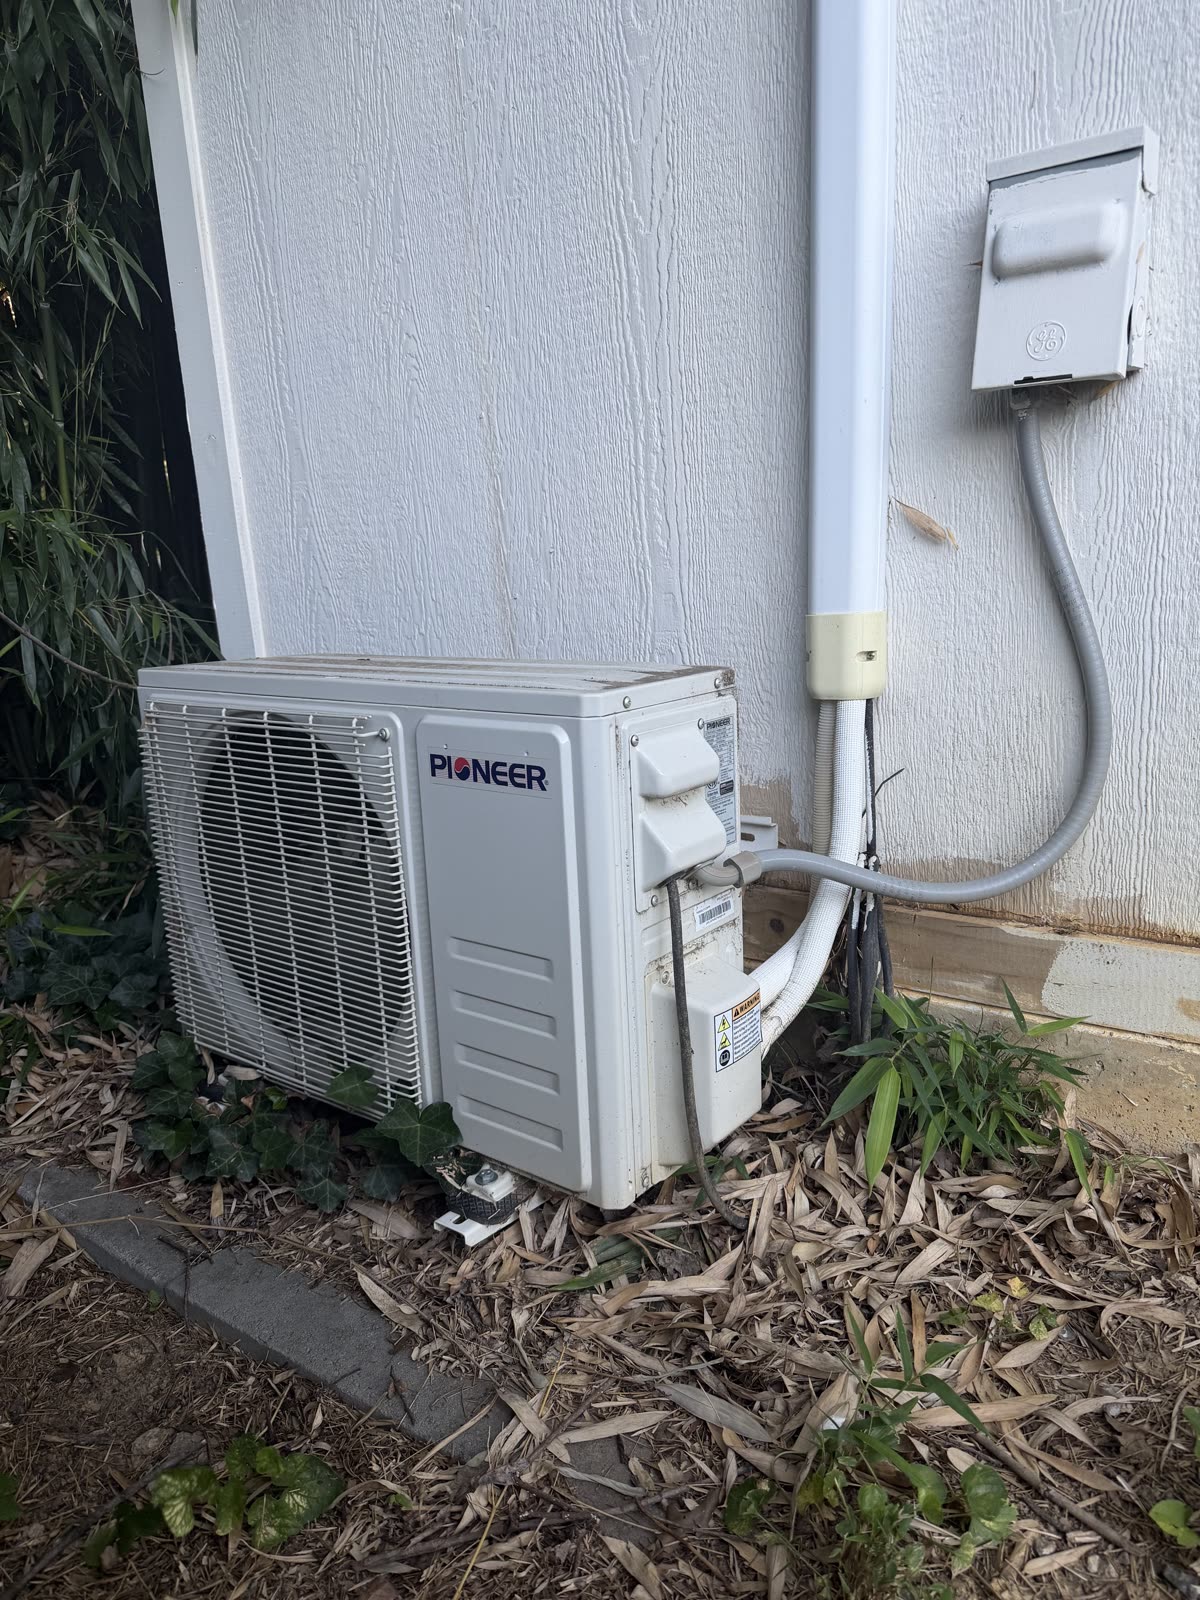
- Mounting and routing. The indoor head, the outdoor pad, the wall hole, the line-set cover, the condensate drain. A careful homeowner can do this part well.
- HVAC commissioning. Leak testing, evacuation, refrigerant release, startup. This is where the failures cluster, and the failures are expensive: bad flares, lost refrigerant, contaminated lines, dead compressors.
Everything in this guide sorts into one of those two buckets. Knowing which bucket you’re in at any moment is most of the game.
First decision: which of three installs are you actually buying? Owner-reported
The single most common way DIYers get into trouble is treating a conventional mini split like a DIY kit. They are different products:
Path A: the true DIY kit
Quick-connect, precharged line sets (MRCOOL’s DIY line is the famous one), designed so you never open the refrigerant circuit. If installed exactly per the manual, there’s no flaring, no vacuum pump, no charging. You still own the mounting, drainage, and leak checks, and the manufacturer still wants a certified electrician on the power side.
Path B: the hybrid (usually the best value)
Buy a higher-end conventional system, do the homeowner-plausible work yourself (mount both units, route the line set and drain, install the line-hide), and schedule an HVAC tech before installation day to do flares, nitrogen test, evacuation, charge, and startup. You save real labor money, the refrigerant work is done right, and the warranty paper trail exists.
Path C: hire the whole job
The honest answer for multi-zone systems, long or hidden line runs, interior condensate routing, panel upgrades, or anywhere local licensing is strict. Also the honest answer if you can’t tolerate downtime, because of the rescue problem below.
Ask a local HVAC company whether they’ll do startup or rescue work on the brand you’re considering. If the answer is no, your warranty and service plan may be “you and YouTube.”
— the call to make before you buy anything
Sizing: the mistake you make before opening a box Official guidance
ENERGY STAR and DOE guidance both warn that oversized systems short-cycle, dehumidify poorly, and cost comfort. The owner-forum version Owner-reported is blunter: square-foot rules put a 3-ton, 4-head system on a 915-square-foot house, and small bedrooms often can’t use even the smallest wall head sold. Before buying:
- Do a room-by-room load calculation, not BTUs per square foot.
- Check the minimum modulation of the outdoor unit and each head, not just the maximum.
- Decide what happens to closed-door rooms without heads.
- Consider whether one or two heads, or a small ducted unit, beats a multi-head system. Multi-head minimums run high, and that’s where the humidity complaints come from.
Electrical: budget for the electrician Official guidance
Every manufacturer manual says the same thing: dedicated circuit, properly rated disconnect, wiring to NEC and local code, certified electrician. The forum failure stories on this front are homeowners who were comfortable hanging the units but improvised the conductor sizing and disconnect placement. Electrical is not the place to recover the money you saved on labor; it’s the part inspectors actually look at.
Condensate: boring until it ruins drywall I did this
Leaking indoor heads are a recurring start-of-summer service call, and the causes are almost all installation details:
- The head must be level, or at the exact pitch the manual specifies.
- The wall hole slopes down toward the outside.
- The drain hose stays at the bottom of the line-set bundle, the whole way.
- No uphill runs, and no sags. A sag is an accidental P-trap that blocks the drain.
- Gravity drain if at all possible; a condensate pump is one more thing that fails.
- Pour water into the drain pan and watch it exit before you close a single cover. This test costs two minutes and catches the problem while it’s still fixable.
Line sets and flares: precision work, not plumbing Owner-reported
The saddest threads in the failure forums are flare threads. Owners cut and reflare a line set because the factory length was inconvenient, use an auto-parts flaring tool, and chase leaks for weeks. One owner destroyed a flare while using a torque wrench at the specified setting; the fix was still cut it back and start over. The rules that emerge:
- Don’t cut and reflare unless you must, and never without a proper HVAC flaring tool.
- Deburr cleanly; copper shavings do not belong in a refrigerant circuit.
- Use the exact flare nut and the manufacturer’s torque spec.
- Bend with a spring or bender; a kinked line is a replaced line.
- Leave every joint accessible until after testing. Never bury a suspect connection in a finished wall.
- Excess line set gets coiled in broad horizontal loops, not stood vertically.
The commissioning sequence that separates working systems from dead ones Owner-reported
For conventional systems, the pattern in every failed-install thread is the same: no nitrogen test, a 15-minute vacuum with no hold test, no micron gauge. The community-consensus sequence, which matches what the manuals require:
- Nitrogen pressure test to the manufacturer’s specified pressure and duration, before any refrigerant moves. Forum numbers run 400–600 psi, but the manual’s number wins. A vacuum is not a leak test.
- Bubble or electronic leak check at every accessible joint.
- Evacuate with a vacuum pump and a digital micron gauge. A manifold gauge reading “29 or 30 inches” proves nothing; evacuation quality is measured in microns. The consensus target: 500 microns or less, verified with a decay/hold test.
- Only then open the service valves and release the charge.
- Startup: check codes, verify the supply/return temperature split, water-test the condensate, and inspect joints for oil staining.
The rescue problem Owner-reported
The 2025 forum thread that should be printed on every DIY kit box: a homeowner cut and reflared his lines, pulled a short vacuum with no hold test, lost the refrigerant charge, and then discovered that no local contractor would touch a self-installed unit. Liability, unknown refrigerant state, possible compressor damage; the companies that will take the job quote rescue prices near or above what professional startup would have cost in the first place. This is why Path B exists, and why the pre-purchase phone call matters more than any tool you can buy.
Quick symptom index
| Symptom | First suspects |
|---|---|
| Indoor head drips down the wall | Head not level; drain sagging or uphill; wall hole sloped inward; clogged drain |
| Hissing after opening valves | Flare or quick-connect leak; valves opened before a real leak test |
| Runs briefly, then error code / warm air | Lost or low charge; air/moisture contamination; compressor protection fault |
| Clammy rooms, short cycling | Oversized heads; multi-head minimum output too high; bad placement |
The bottom line
Mini split success is 80% planning and commissioning, not hanging the box on the wall. The expensive mistakes are all predictable: sizing by square footage, cut-rate flares, a skipped nitrogen test, no micron gauge, a sagging drain line, improvised electrical, and assuming somebody will rescue the install if it goes wrong. Decide which of the three paths you’re on before you spend a dollar, make the rescue phone call before you buy, and treat every step that touches refrigerant with the respect you’d give the math on any repair: some Saturdays are best defended by writing a check.